

I had the honour of building an urn for my Dad late last year. Last year was a really hard one. Dad was the greatest man whom I ever knew and life is so different without him. I wasn’t about to just buy an urn for such a great man. I had to make it. He was happy knowing that I was going to make it for him. When we were preparing his home for sale, I carefully went through all of his wood in his woodshop and brought it home with me, keeping those precious pieces on the top of the pile when I put the wood away at my home. I had high hopes of being able to show the urn to my Dad, but I didn’t get the chance. His cancer progressed faster than we had anticipated and our focus was caring for him.
The funeral home provided me with the dimensions of the box that the cremated remains are stored in and I based my box dimensions on those specifications. I was told 7-1/2″x9″x9″. The box provided did not end up being that big. I ended up having more space for the box than I needed, but Dad was a big man and I’m sure that he would appreciate the extra room. It didn’t matter to me that my urn was a bit too big, but you do need to notify the cemetery that your box is larger than usual if you do this as well.
I wanted a design that was a combination of country and class because that was Dad. A true country boy with a touch of class. Could he ever cut a fine figure in a tuxedo, but he was at home in his quilted flannel jacket.
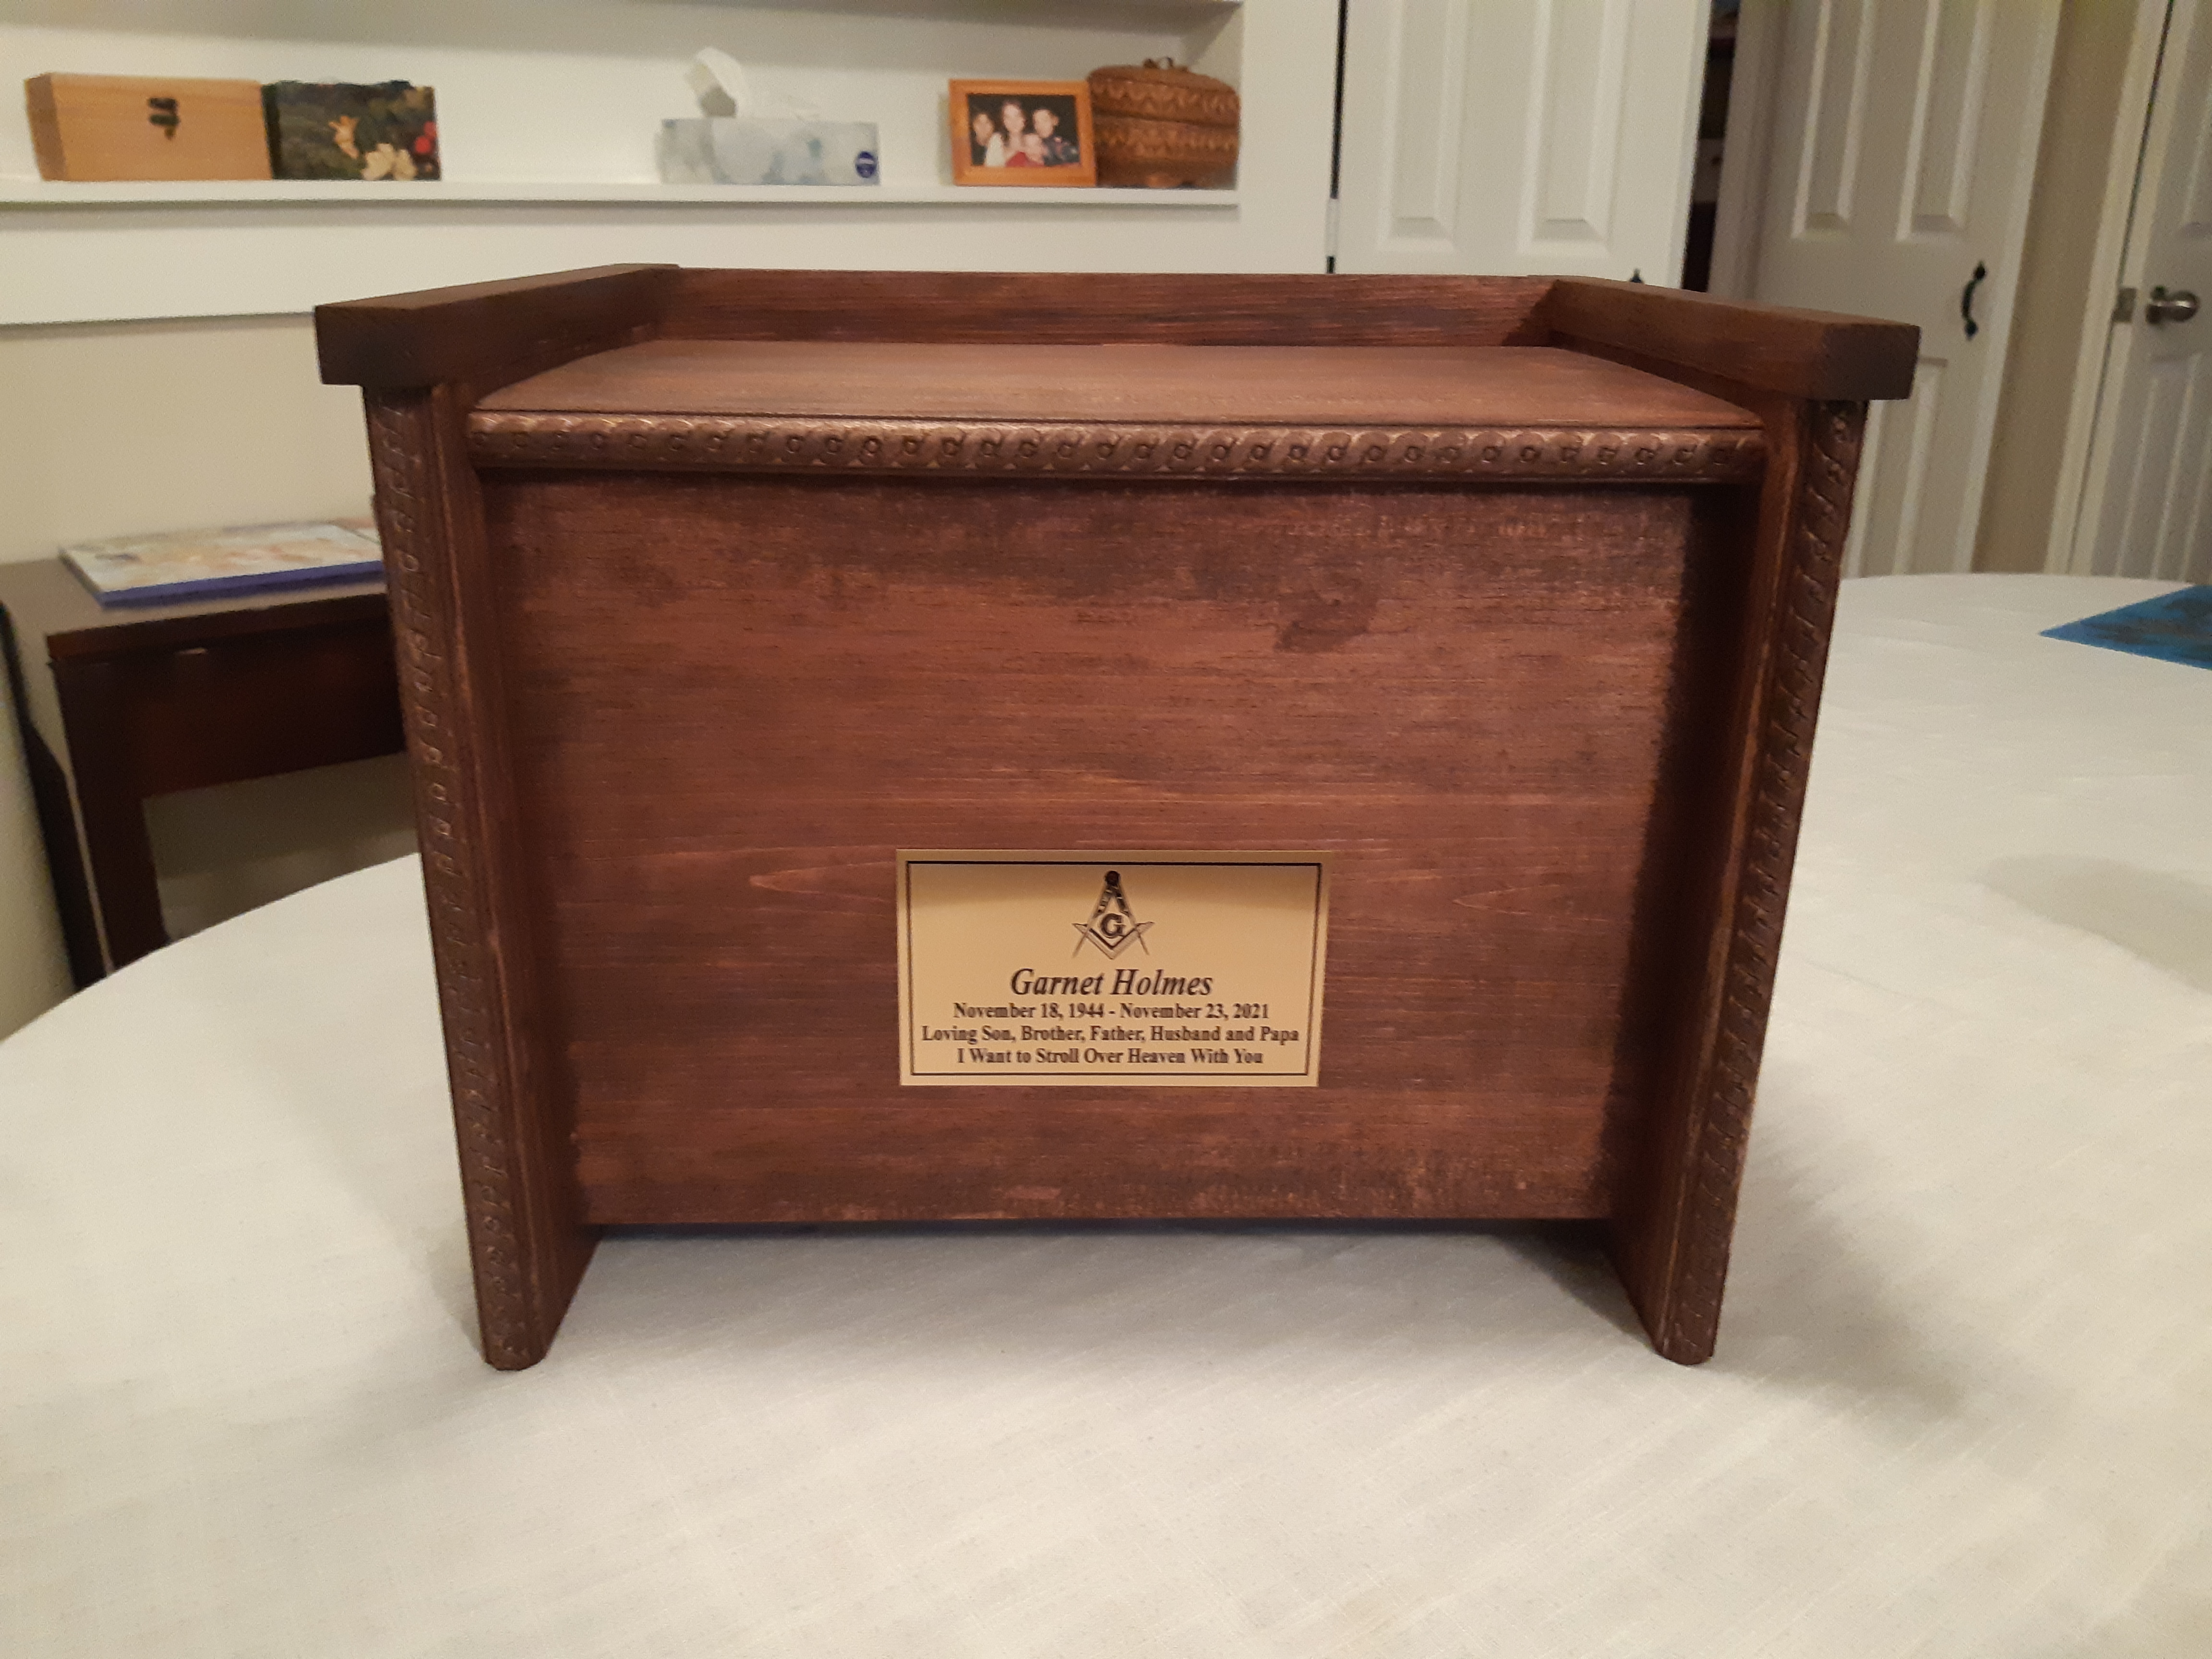
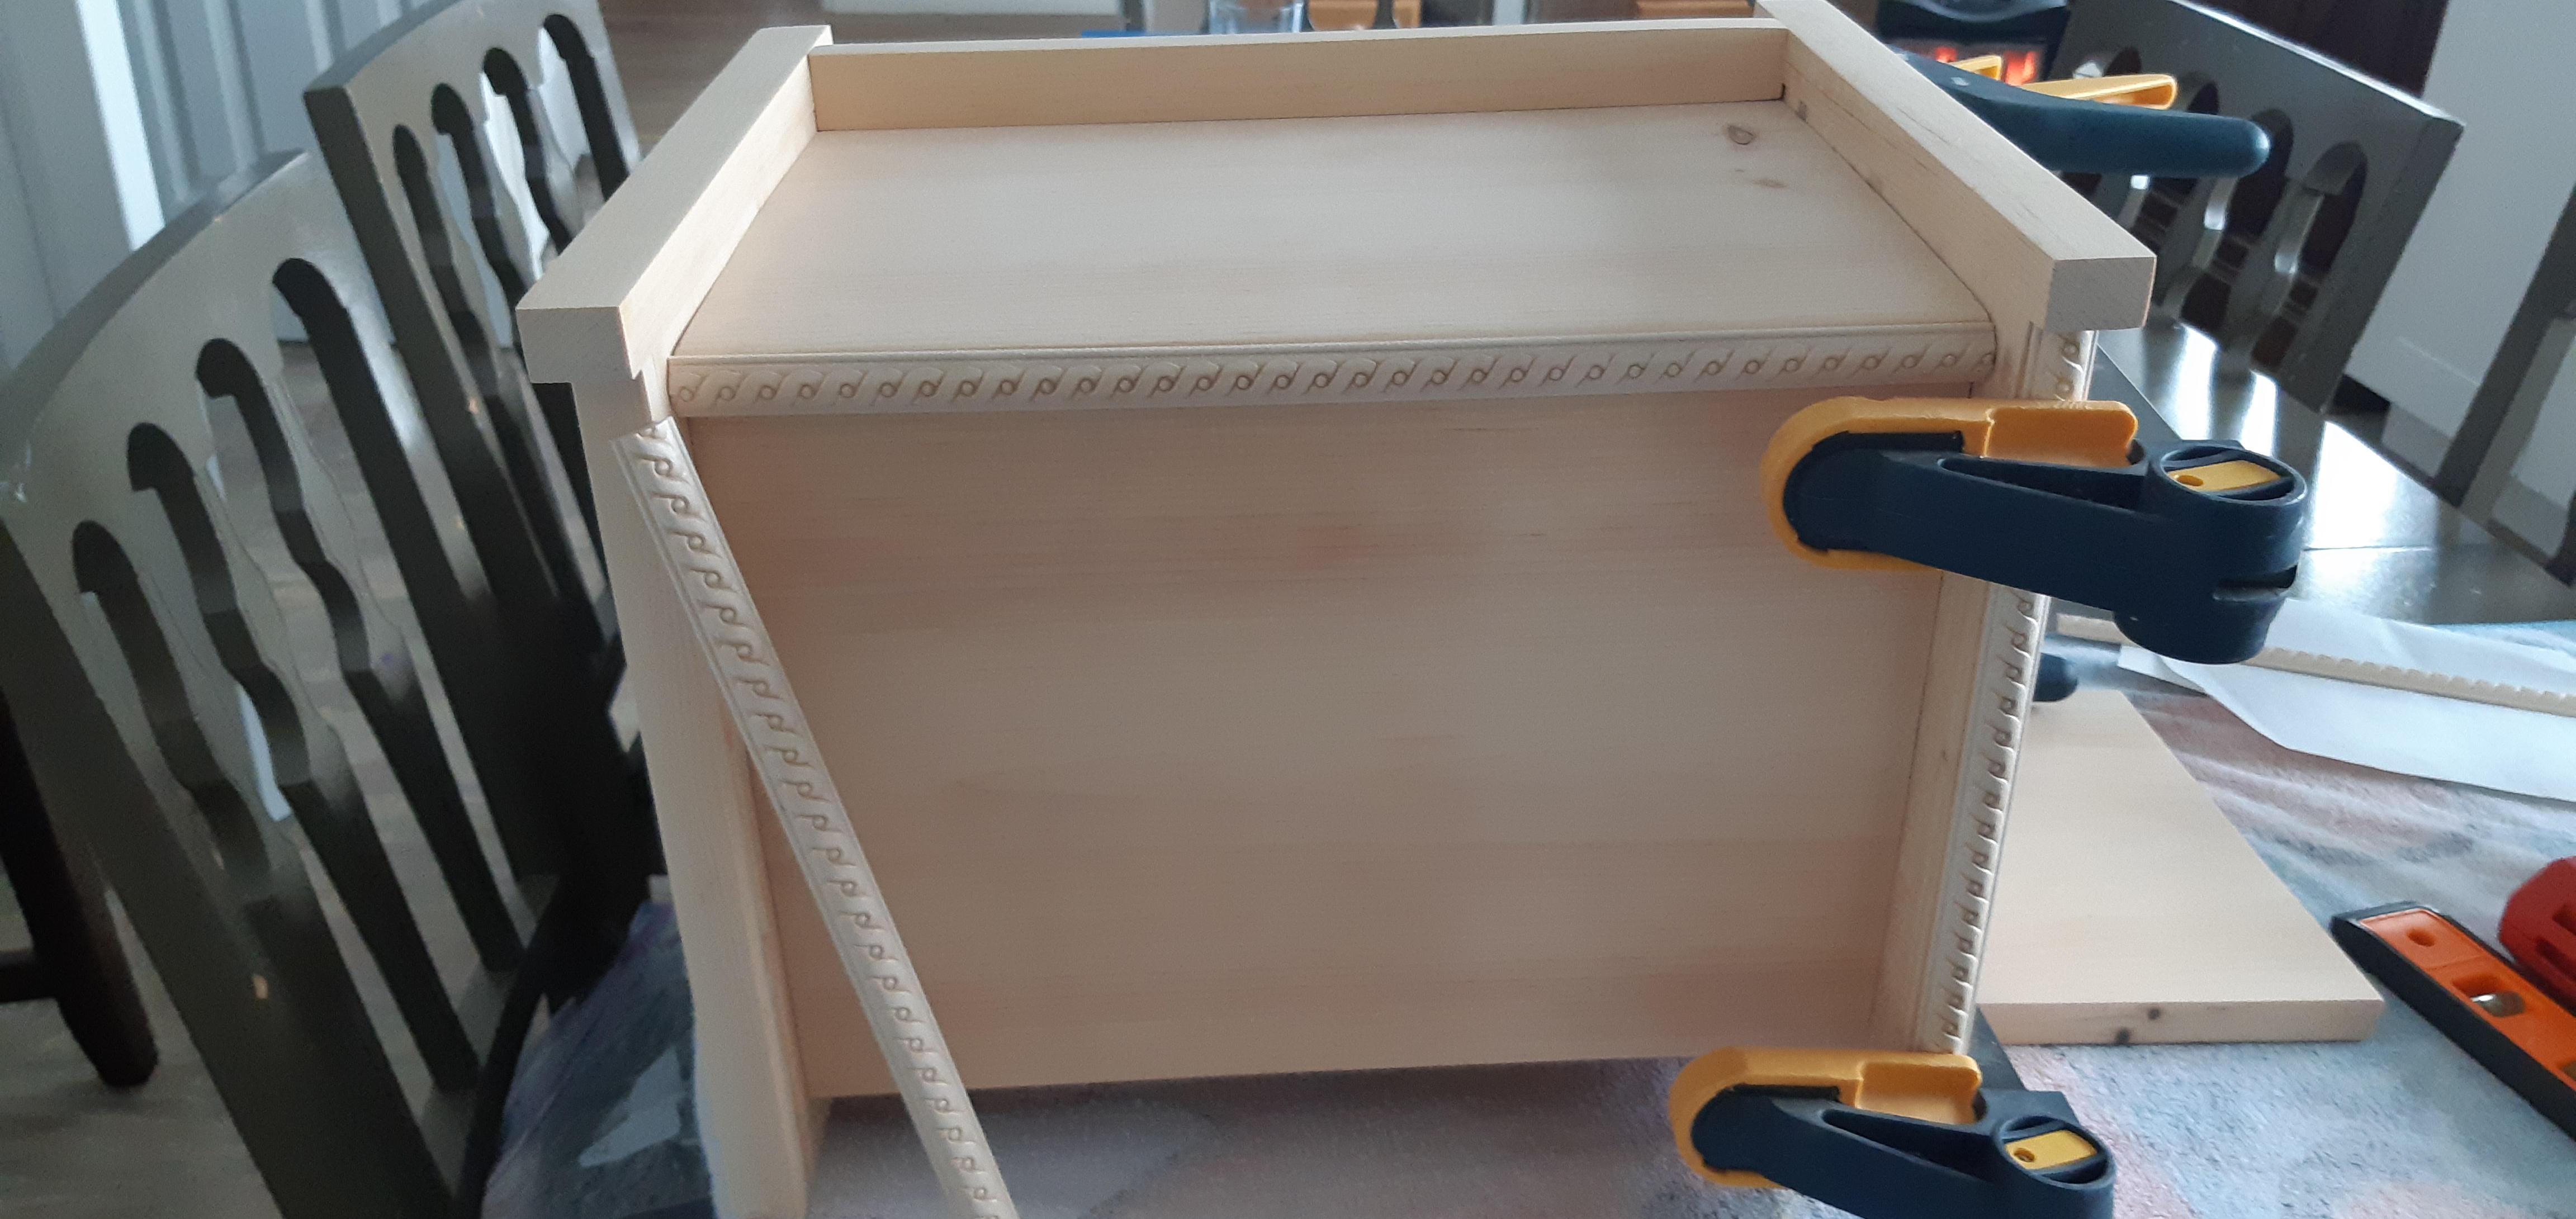
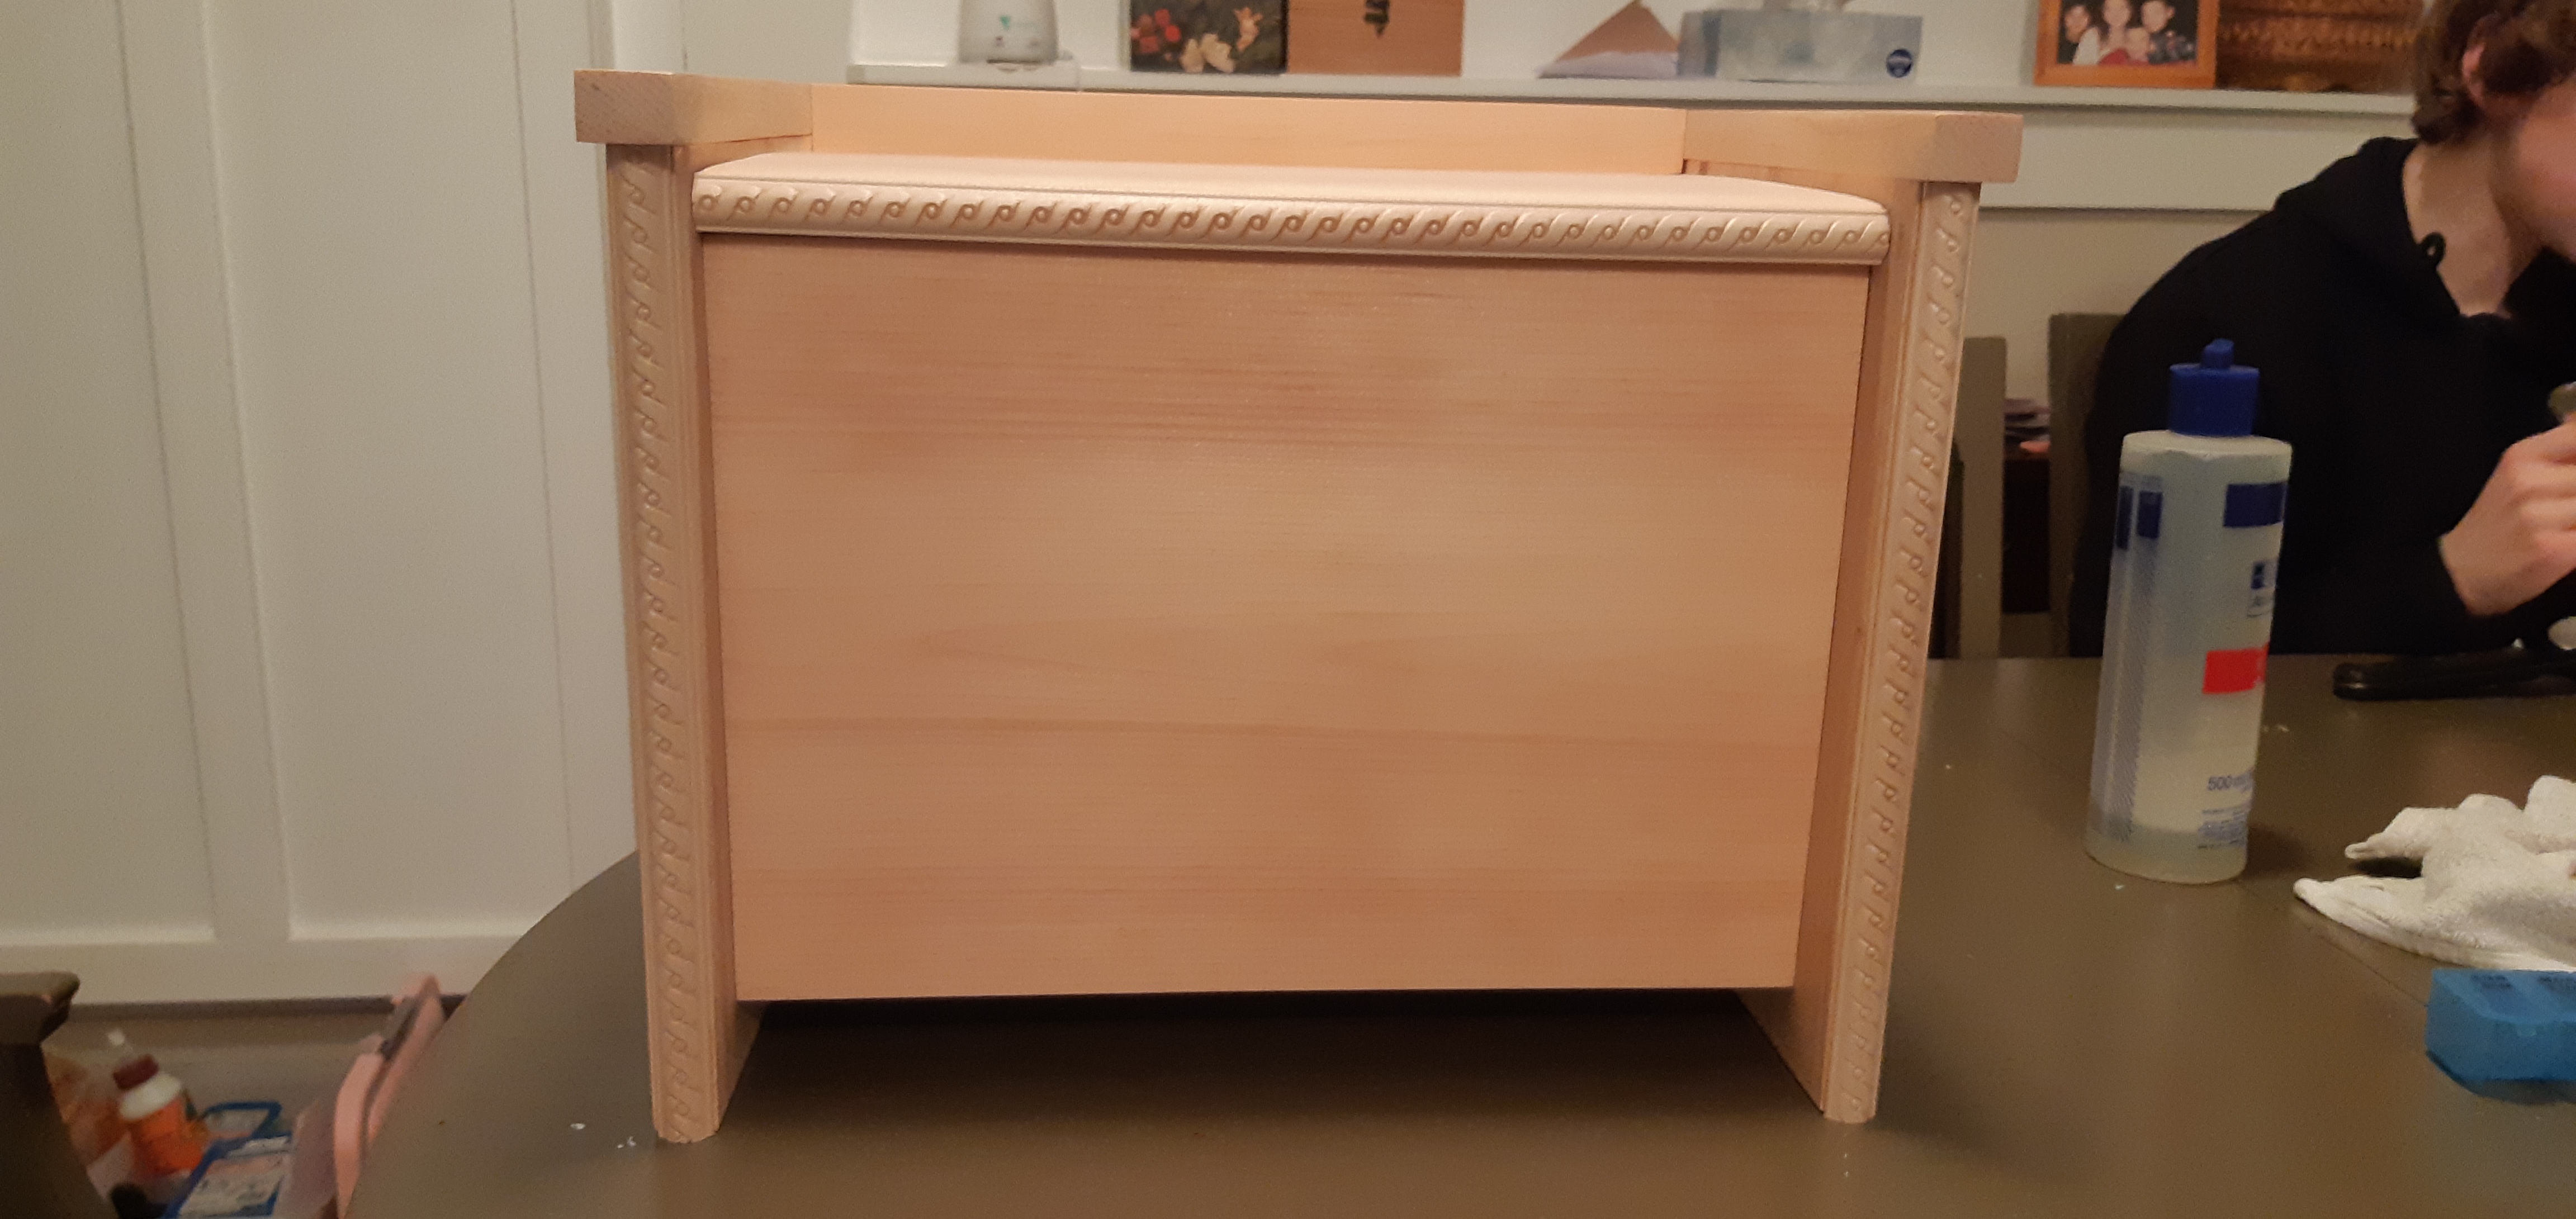
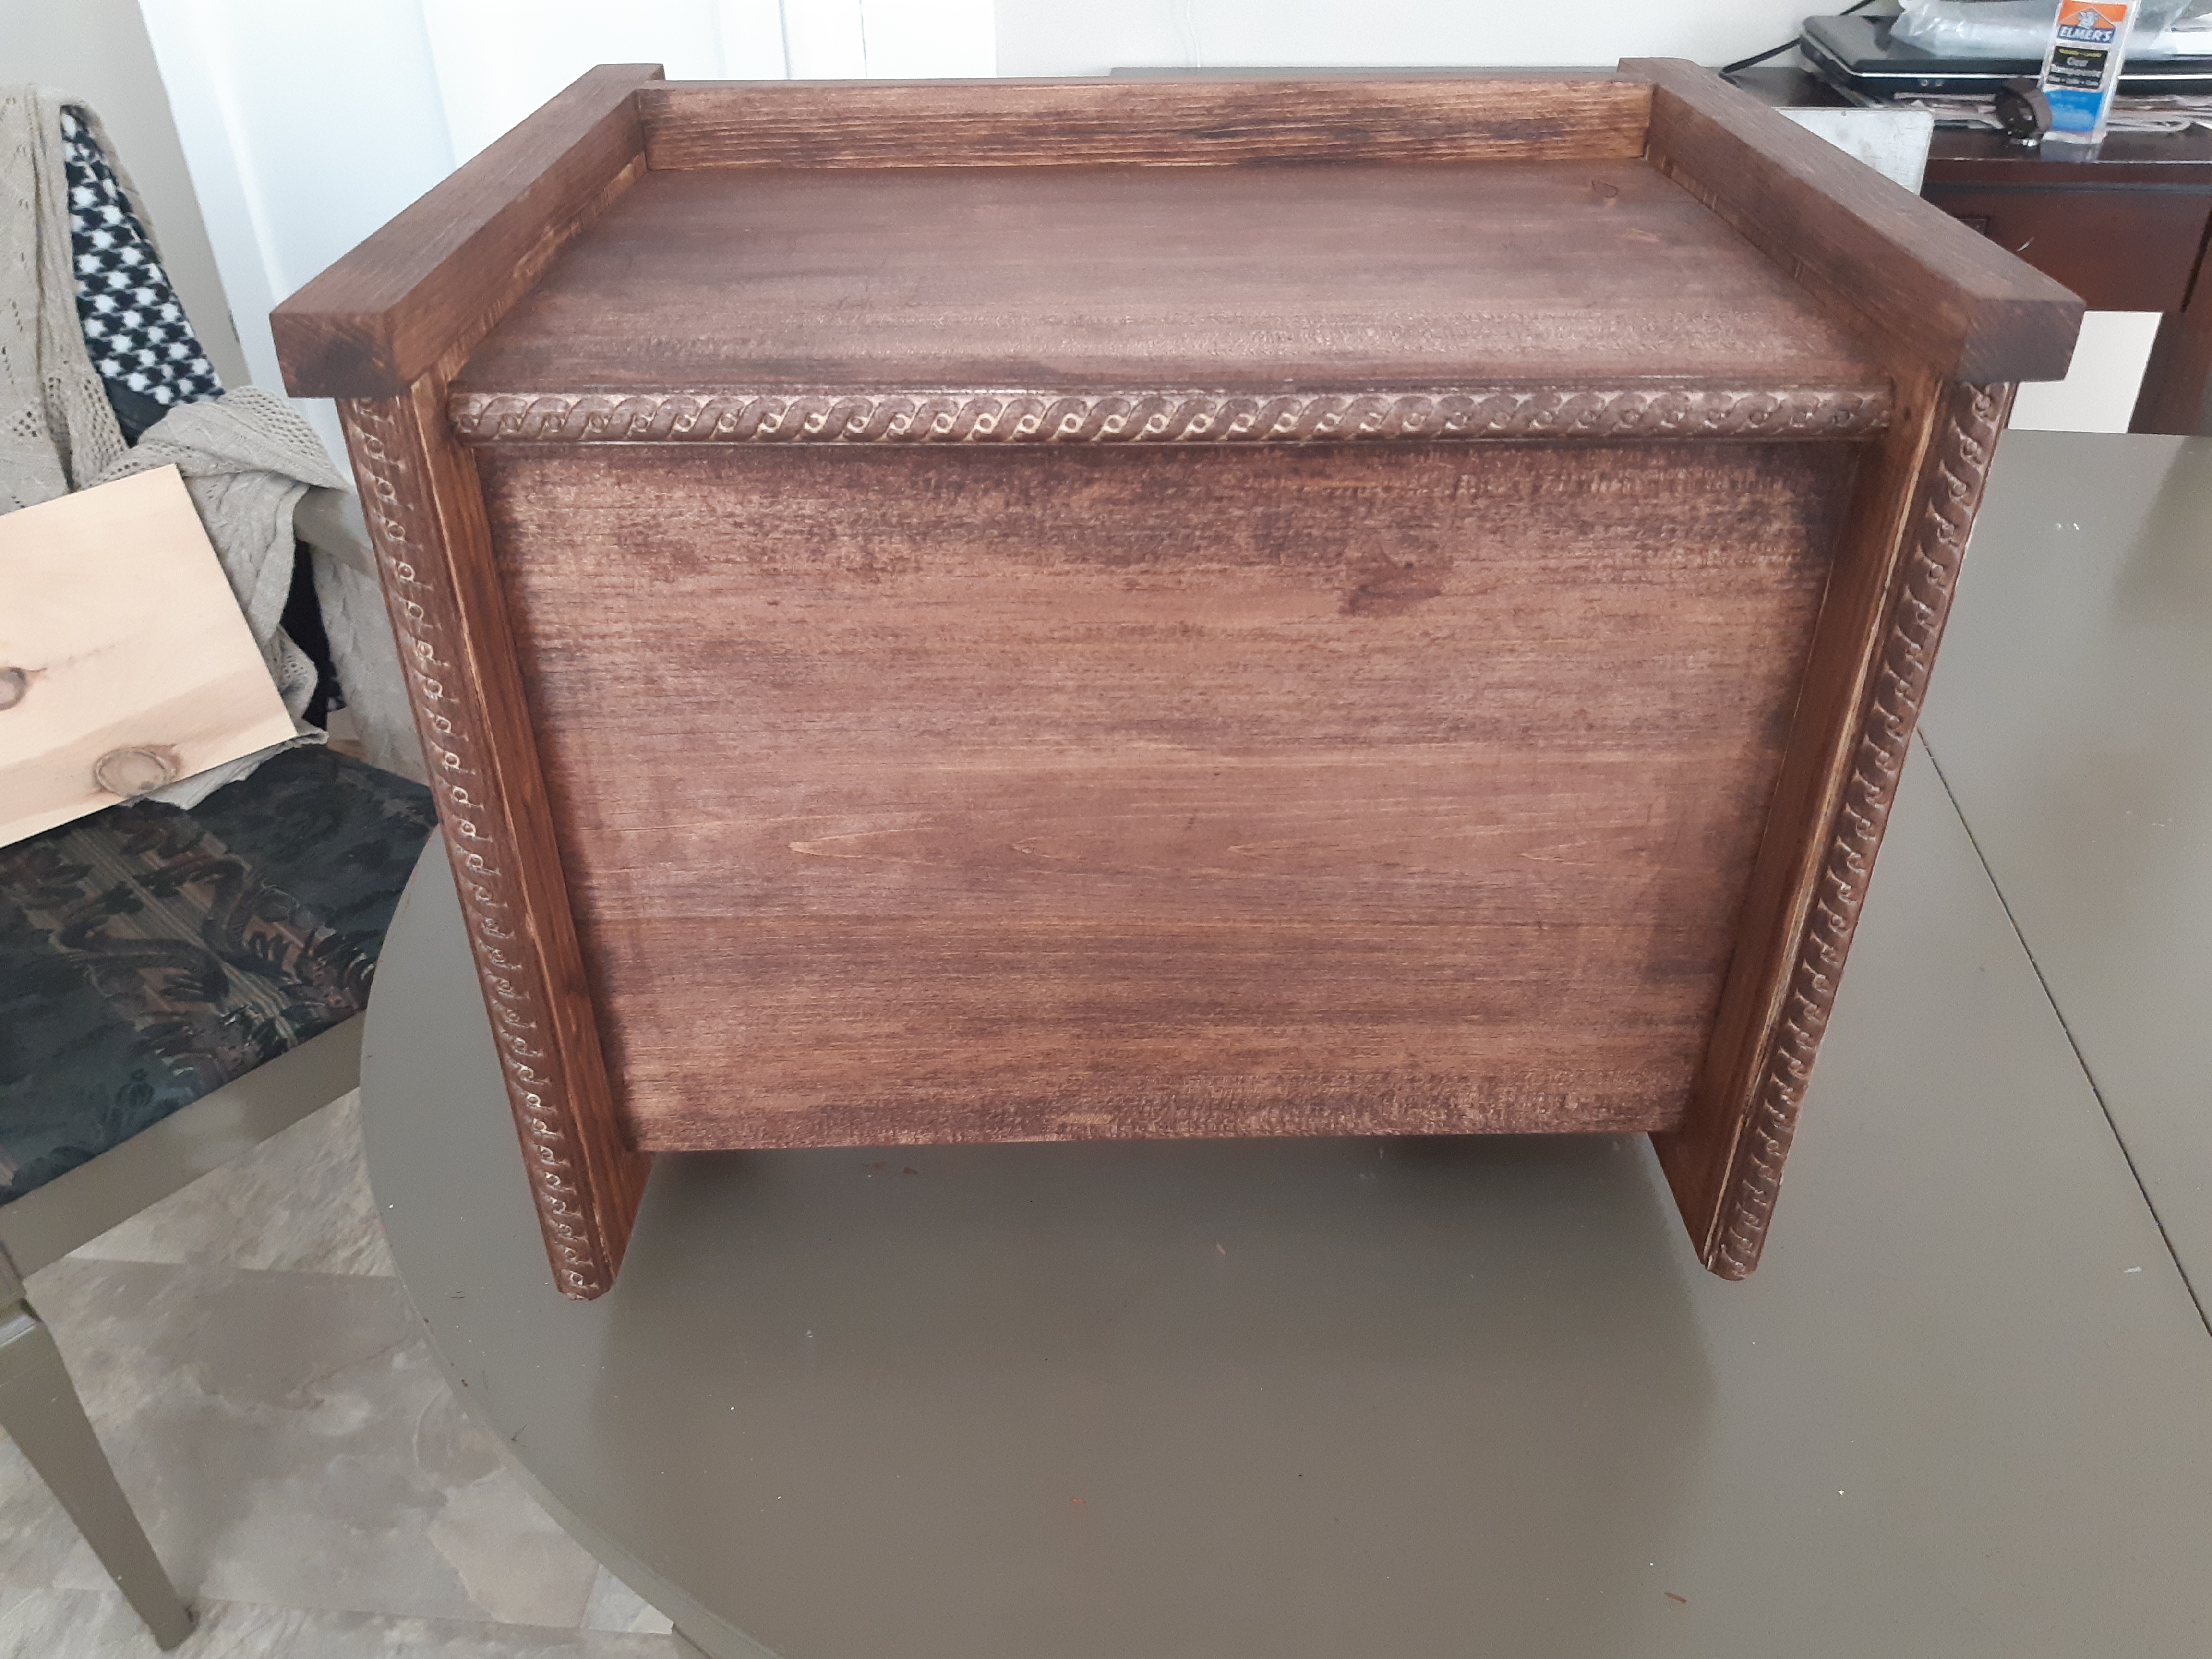
I spent hours researching designs on the internet and came up with my own design for Dad. I wanted a reddish-brown stain because Dad was always one for red hues, and he was a redhead. The stock was low on stains unfortunately, but I did find a nice mahogany colour that turned out very nicely. I personally loved the braided trim that I glued on to the front of the urn. It really helped to give Dad’s urn that touch of class that I wanted for him. It was kind of like the satin trim that ran down the length of his tuxedo pants. It gave it that flair that set it apart from, say, a regular suit pant. The final finish was, of course, the gold name plate that I ordered for Dad.
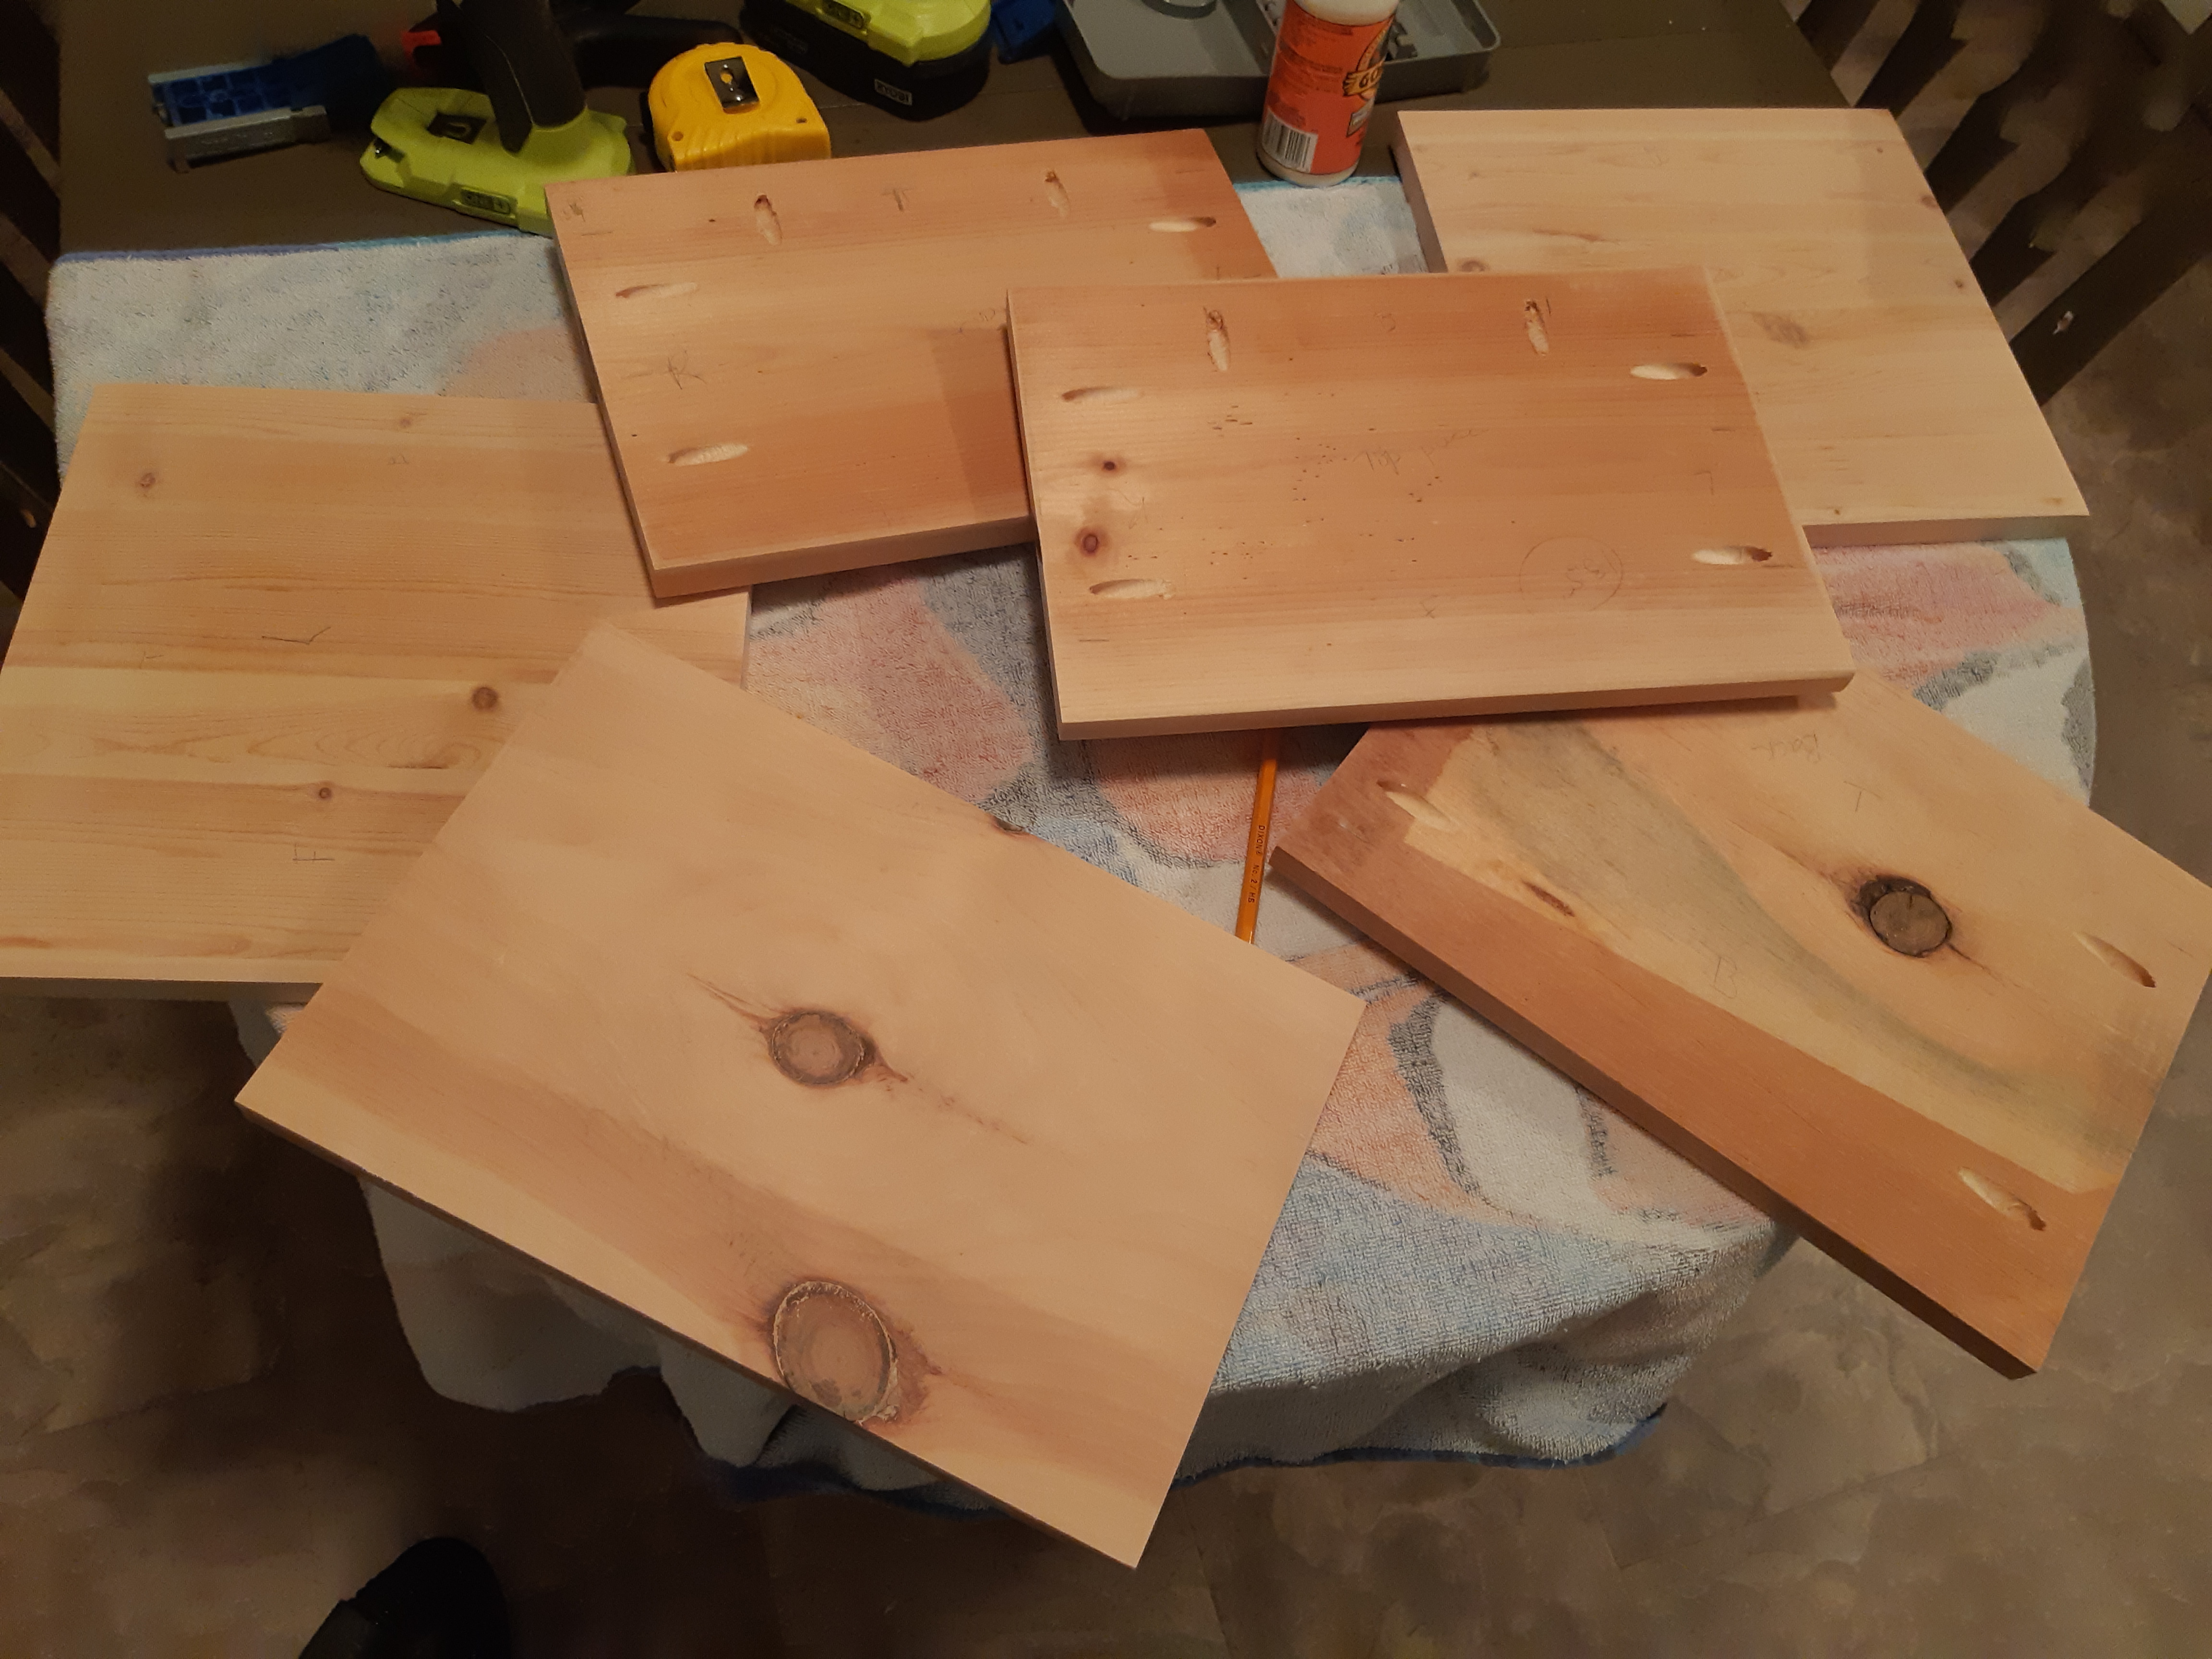
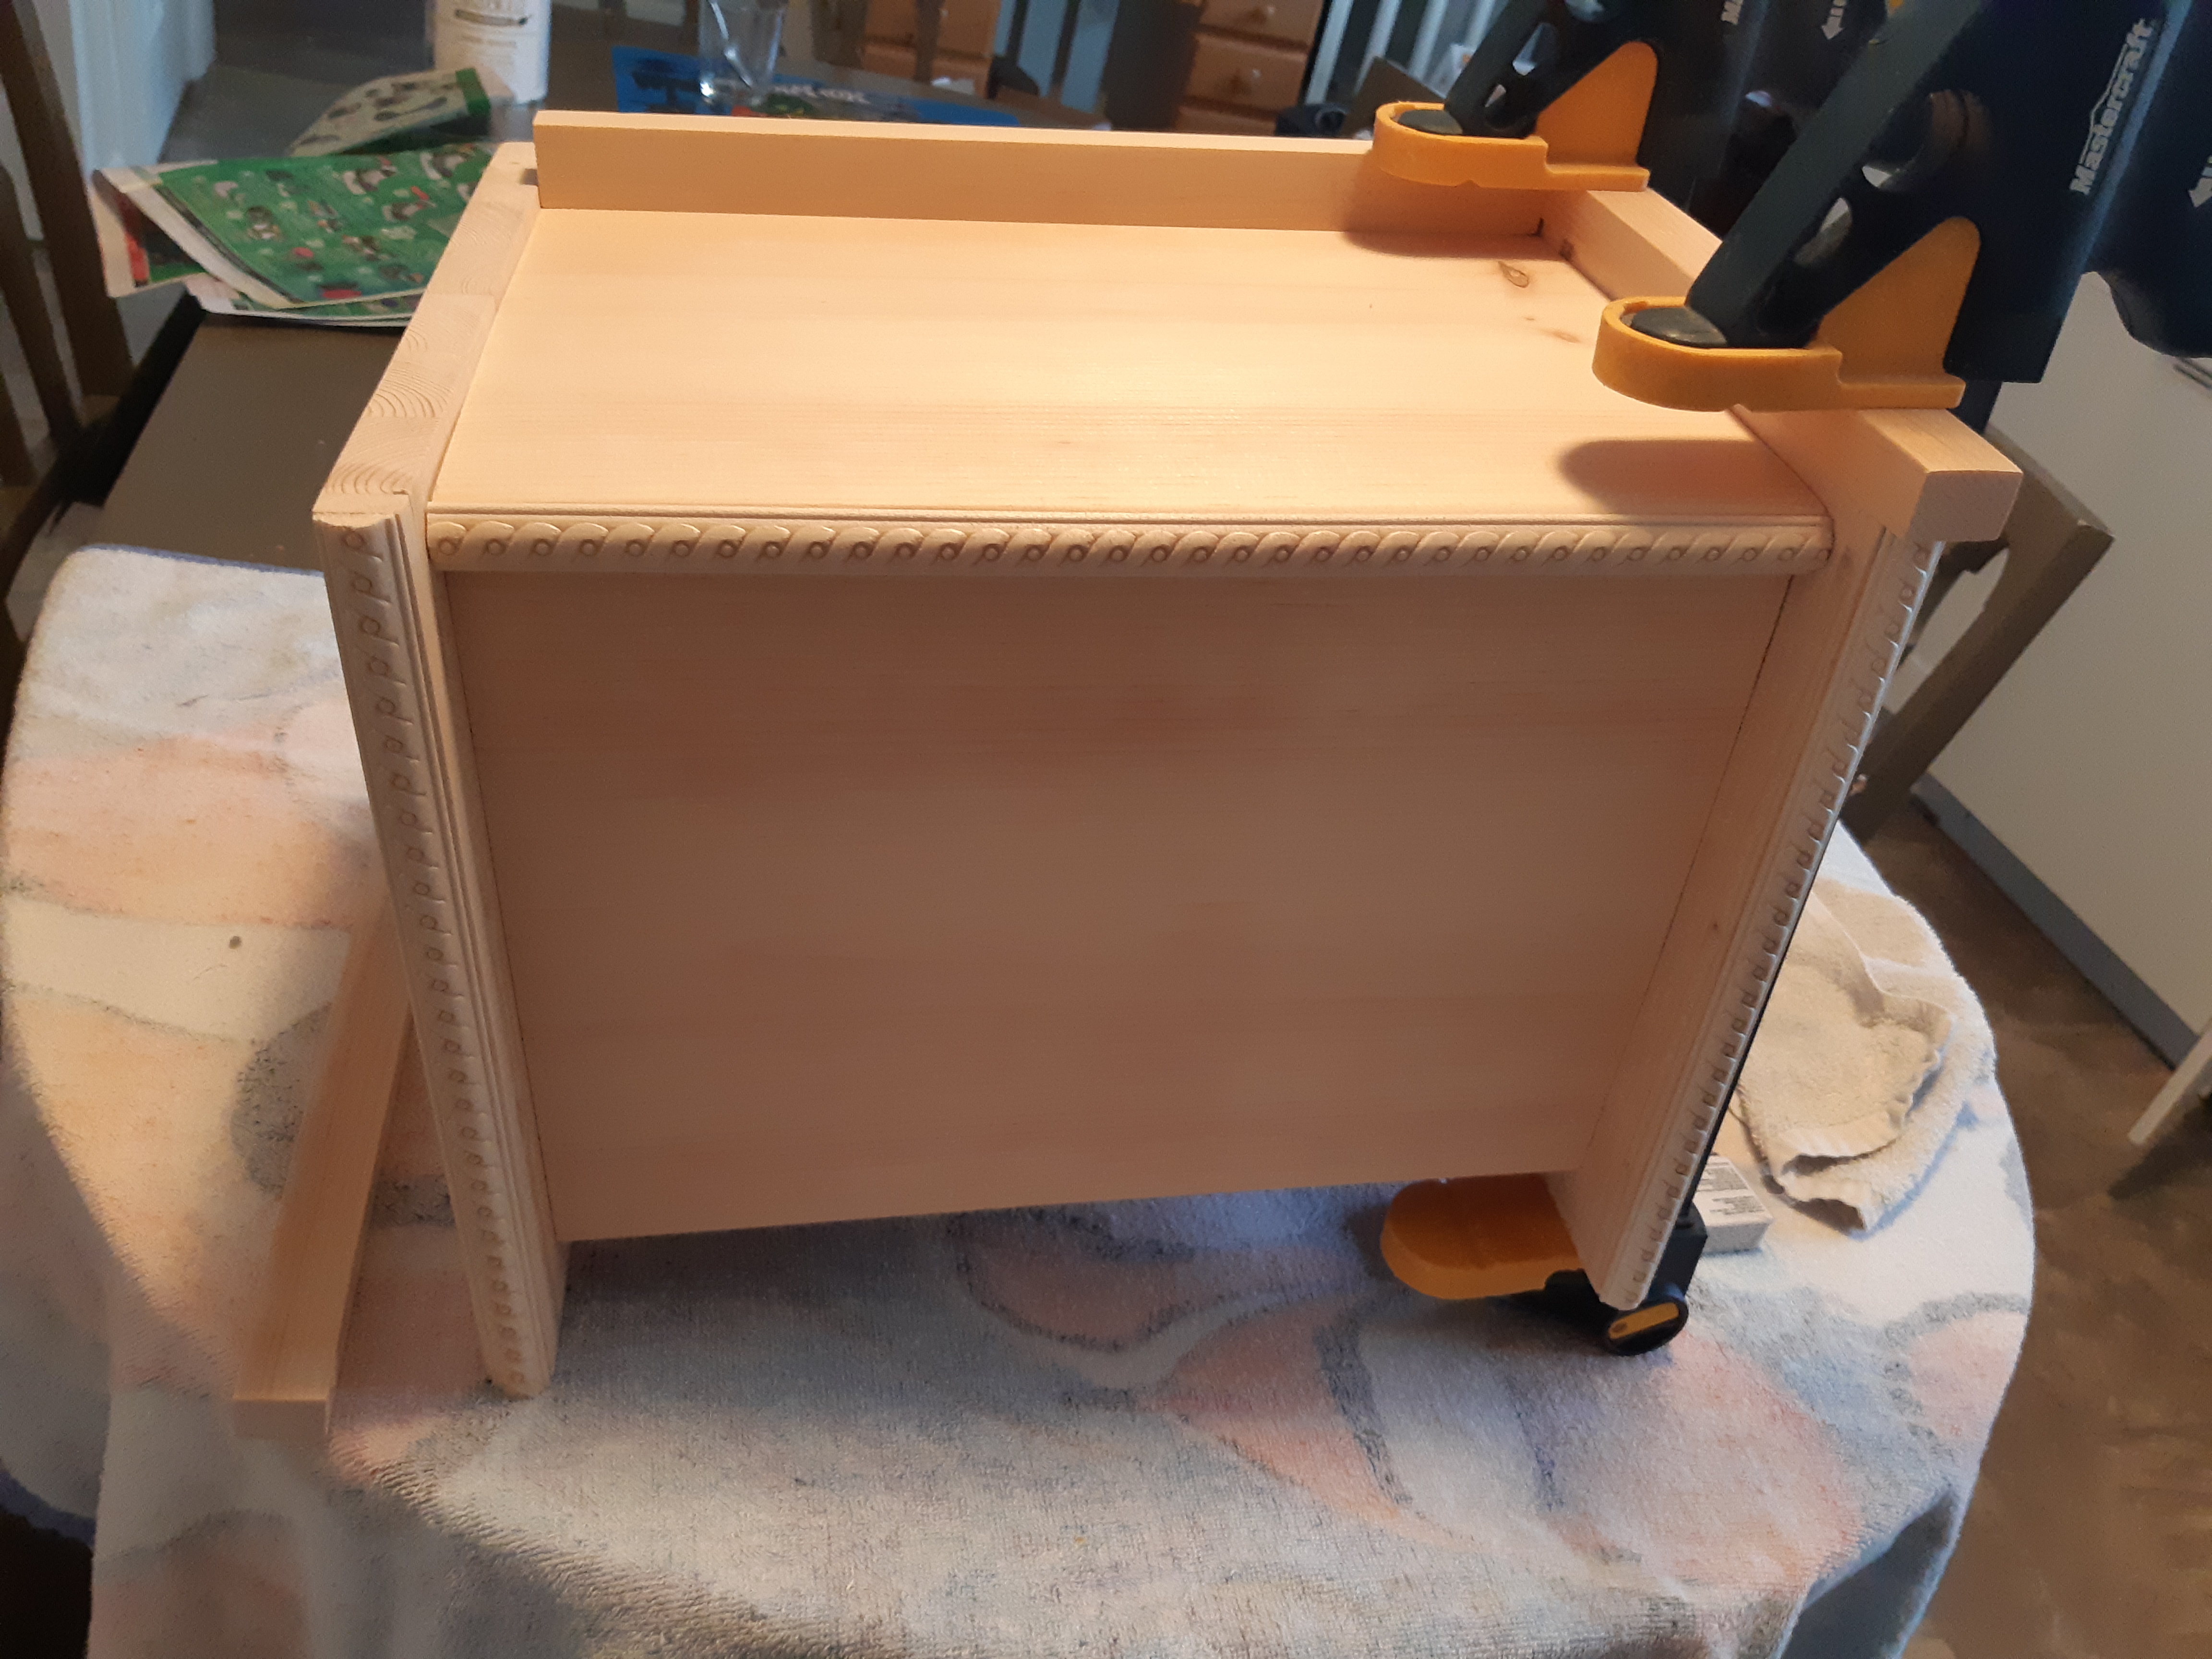
I used pocket hole construction and glue. Lots of sanding was involved to make this urn nicely finished. I have to say that the braided trim gives the top front piece a nicely rounded edge that is perfect for resting your head against. You know that space at the top of your nose, but not quite your forehead. Well, that spot rests nicely on this edge in case you may want that for your design. I hadn’t thought about that in my design, but it has been a nice, unintended feature. Just FYI. And Dad’s hankies kept beside the box also come in handy.
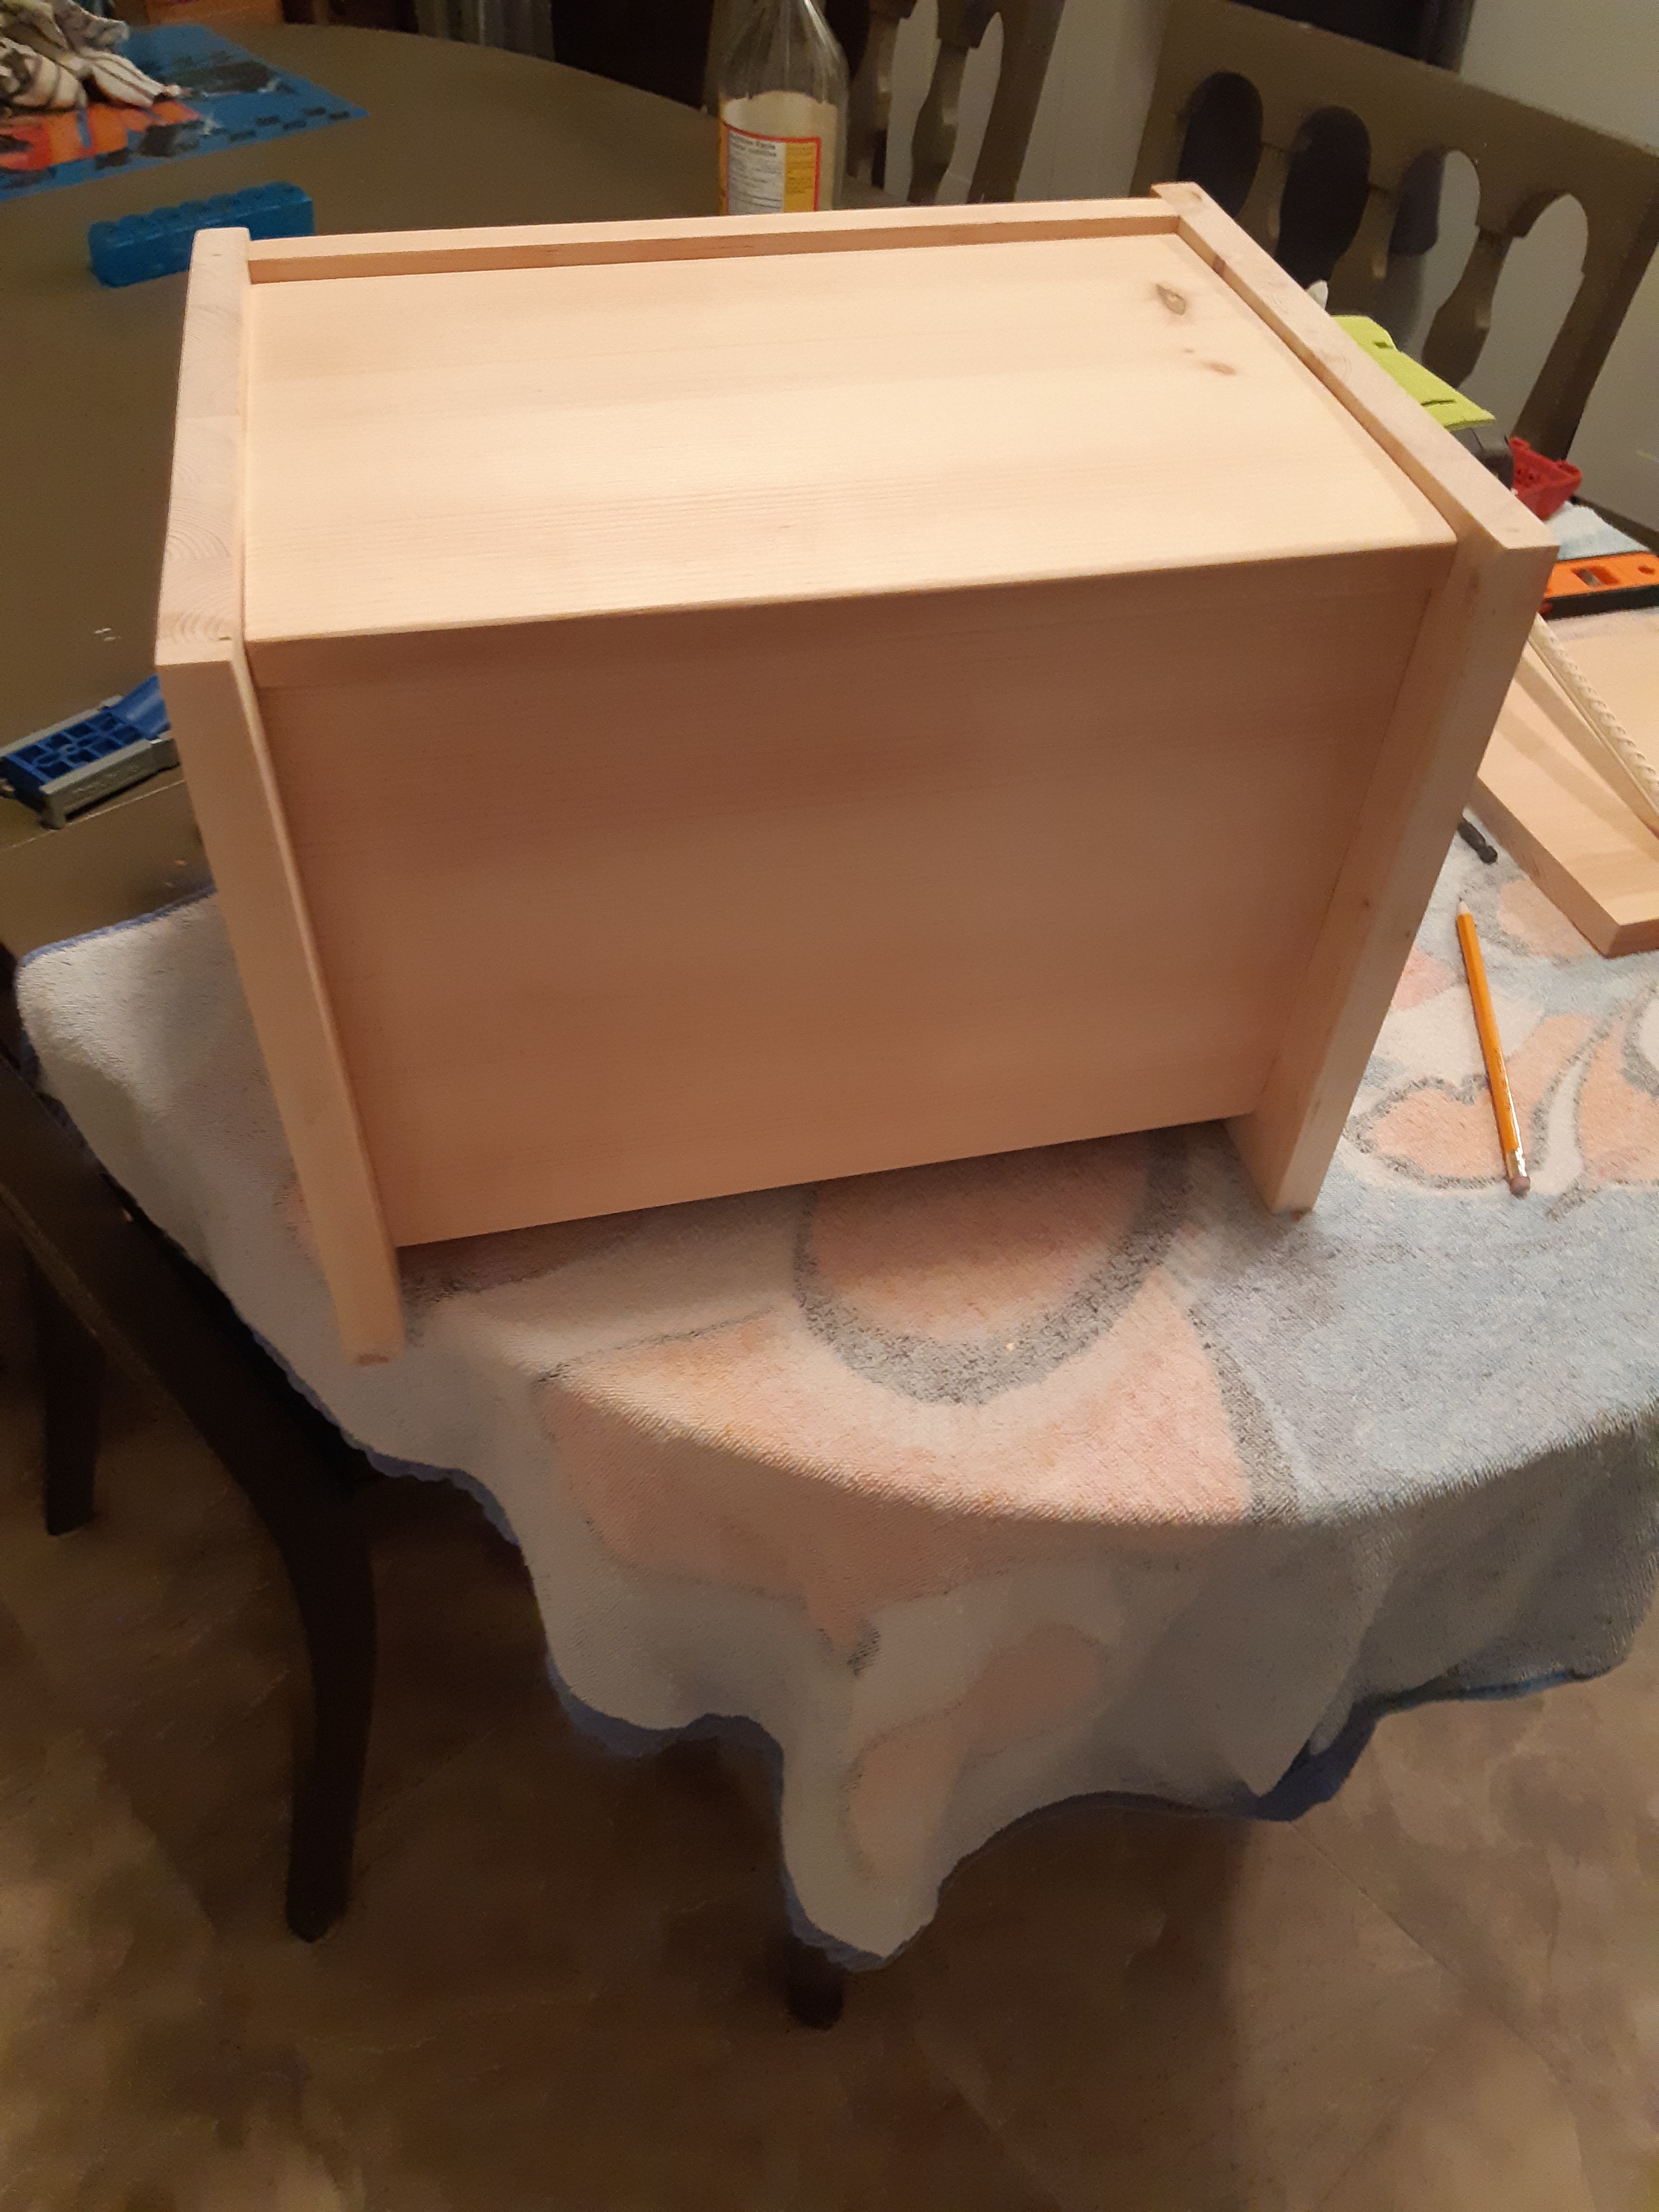
My design was based on this plan:
2 side pieces (11-1/4″ H x 11″ W); 1 front piece (9″ H x 13-1/4″ W) that would sit low to hide the base piece; 1 back piece (9-1/2″ H x 13-1/4″ W) that will rest on the base piece after base is attached; top piece (9-3/4″ D x 13-1/4″ W) that would overhang slightly so that I could use a butt joint without it looking like a butt joint; base piece (9-1/2″ D x 13-1/4″ W) that had supports placed inside (leftover braided trim was glued on inside to act as a shelf to easily rest the base on when screwing it in place after the ashes were laid inside); braided trim cut to size; 1″x1-1/2″ trim cut to size to glue in place on the top to further decorate the box.

For this project, you will need (remember your safety glasses and mask when cutting and sanding):
Pieces of wood to create your box
Drill/driver to assemble box or preferred method of assembly
Measuring tape
Mitre saw
Sander and papers (80 to 220 grits recommended)
Stain and rag
Clamps and glue
Kleenex for this one
